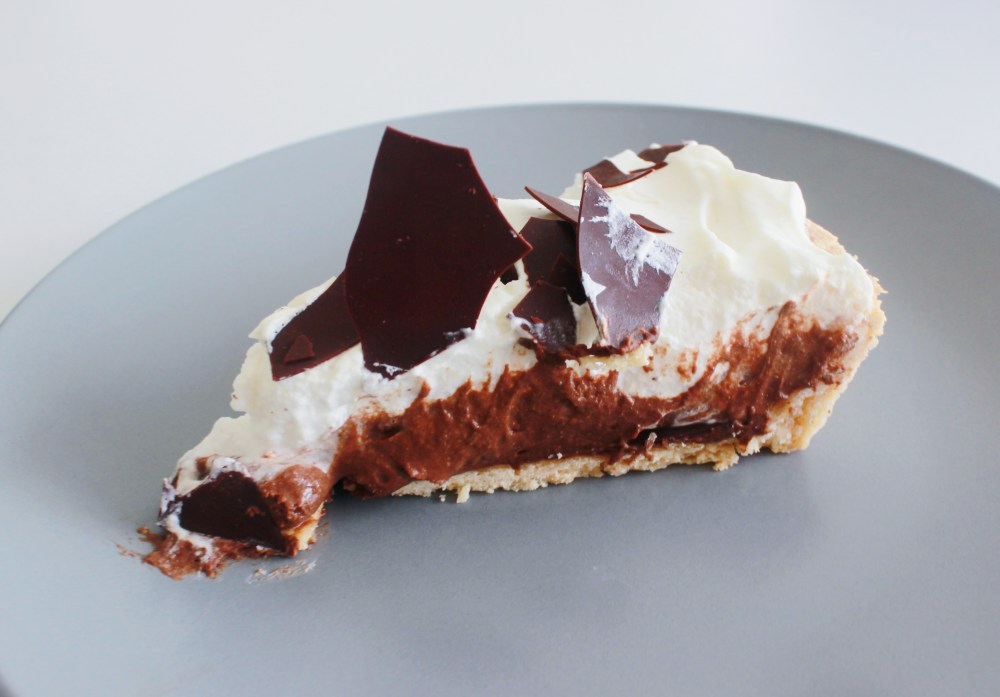
Now a lot of people might have fond memories of Southern chocolate silk pie. For me, it’s another way to consume more chocolate. That’s really it. I might have had it growing up and going to Marie Calendar’s, but honestly all I can remember from Marie Calendar’s was getting the Banana Meringue Pie, which was my dad’s favorite growing up. However, chocolate silk pie combines a lot of really delightful textures together, between the flaky, butter pie dough, the (namesake-worthy) silky, velvety chocolate filling, the whipped cream on top to contrast the bitterness of the cocoa, and crunchy, thin shavings of chocolate to finish. There are very few reasons(beyond gluten, lactose, sugar, or chocolate intolerances) to really dislike this kind of pie. And since Pi Day is around the corner, I figured I’d have this pie recipe post at the ready!
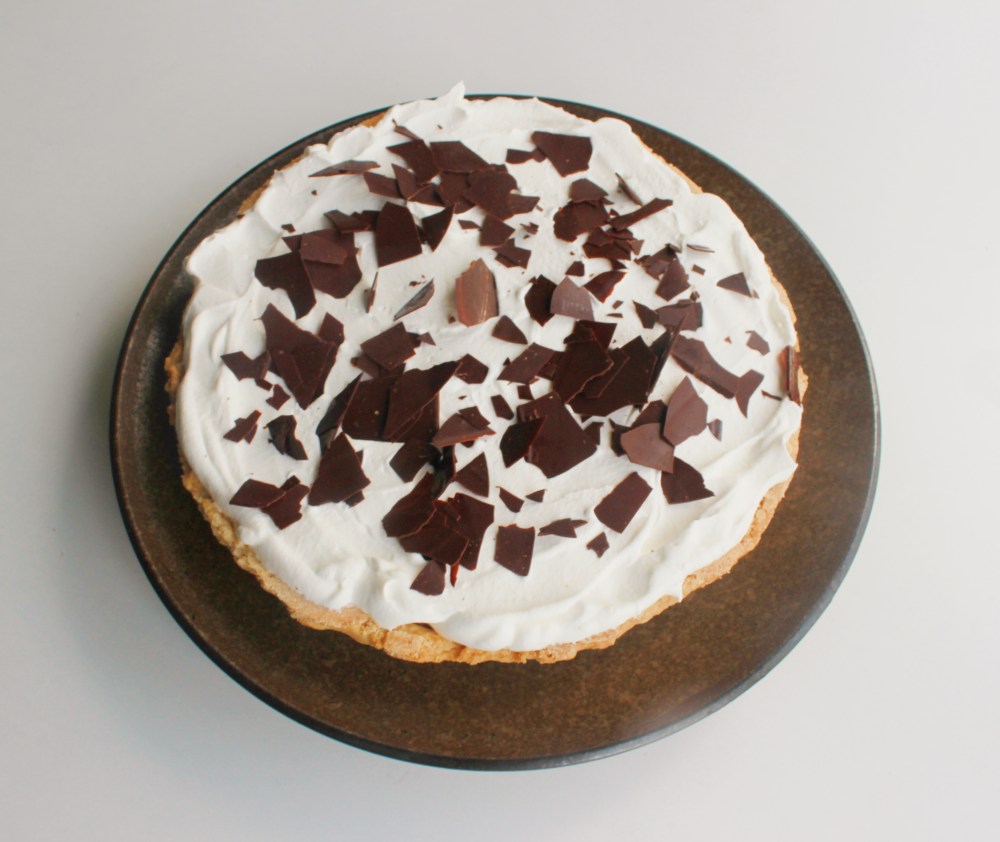
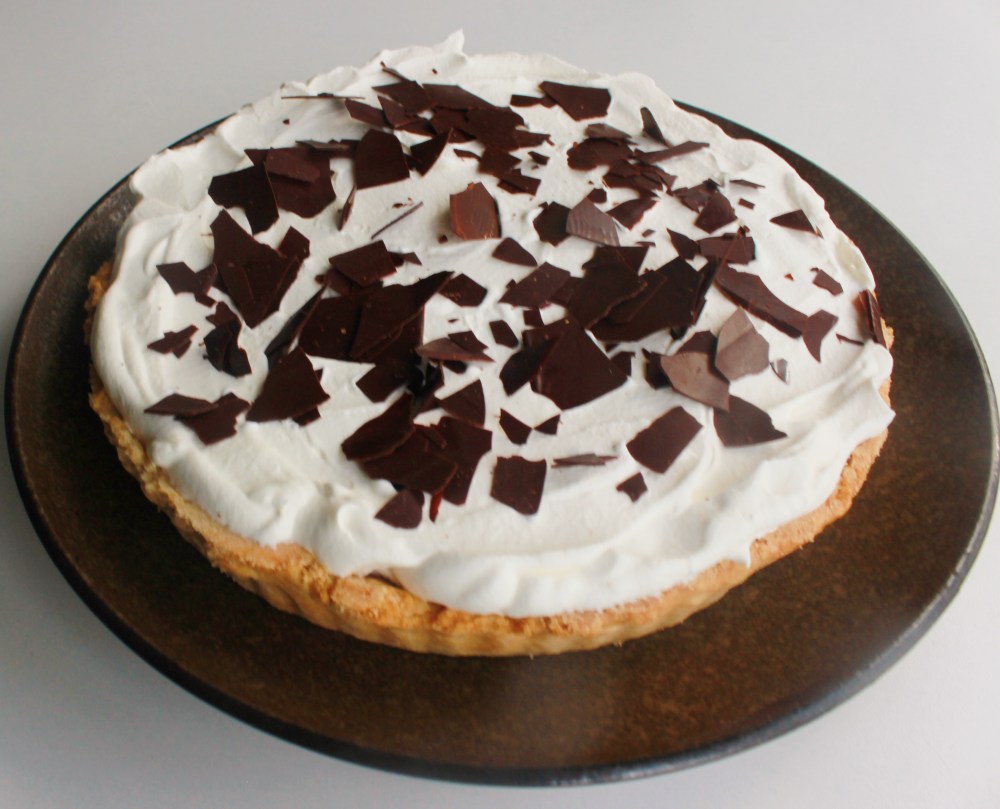
For the components, we have a buttery pie crust, a dark chocolate mousse filling, whipped cream, and thin pieces of chocolate to finish. What makes this recipe a little more unique is that I am using creme di cacao, or chocolate liquor, in both the crust and the filling. The alcohol in the liquor promotes a flakier pie crust, while also giving it a pleasant, subtle chocolate note that calls back to the flavor of the filling. And for the filling, the creme di cacao tones down any cloying sweetness, and gives the silky chocolate filling a more sophisticated flavor profile. You can sub out the creme di cacao in the crust with more cold water if you want, and omit the creme di cacao entirely from the filling if you don’t want to use it, but I personally love adding a splash into my chocolate desserts! For the actual techniques that go into the recipe itself, the main two focal points are the crust, and the filling. The top of the pie is whipped cream, which if you are attempting any recipe of mine, you should hopefully know how to make that already, and chocolate shavings, which can be made with tempered chocolate, but you can always just take a vegetable peeler to a chocolate bar if that makes you feel more comfortable.
Anyways, more about the crust. The crust requires really cold butter, a quick hand when working with the dough, and patience. By keeping the butter and the dough cold, you will have super flaky layers in the pie crust, which is obviously desirable. I froze my pie dough after pressing it into the tin, prior to baking it, so that I didn’t have to use pie weights. Freezing pie crust allows it to hold its shape relatively well when baking, and I was pleasantly surprised by the results! Whereas with pie weights, you have to line the pie dough with parchment, and half the time, the weights prolong your baking time by about 5 minutes because they absorb so much of the heat off the crust itself. I also opted to freeze the baked crust, and then run a microplane(fine cheese grater) around the edges, to smooth out the tart shell. That helps with giving it an even finish! The key to getting this pie crust perfect is keeping the butter cold, rolling out the dough quickly, just so the heat from your hands does not melt the butter in it, freezing the rolled dough prior to baking so that the crust does not shrink as much, and keeping the baked crust cold for both optimal filling, and in case you need to go around the edges with the microplane to get the edges more even.
With the filling, traditional silk pie filling is essentially a sabayon(whipped egg custard), finished with cream and chocolate, so basically a chocolate mousse with eggs. Typically, the eggs are raw, but in the case for my recipe, I went with something more akin to a chocolate custard that is lightened with whipped cream. I only used egg yolks, since the egg whites are where the potential risk of salmonella really lies, and I temper the egg yolks with heated cream and melted chocolate just to pasteurize them. The end result is a very velvety and light chocolate mousse, very similar to a traditional silk pie filling, but with none of the risk of food poisoning! I’d call that a win-win, though some traditionalists may beg to differ. Either way, the filling has eggs, chocolate, and cream, just like a silk pie filling should have! The filling can be eaten on its own, honestly, and it pairs gorgeously with both the butter crust, the light whipped cream, and the crunchy flakes of chocolate to make a really memorable dessert experience.
For the crust:
1 cup all-purpose flour
1 stick unsalted butter, cubed and kept cold
1 tsp salt
1/4 cup granulated sugar
2 tbsp creme di cacao
1 tbsp cold water
1 tsp vanilla extract
In a bowl, mix together the flour, butter, salt, and sugar until they form a fine, crumbly sand. Pour into that the other ingredients and gently fold together into a dough. Refrigerate the dough for at least 10 minutes. Roll out the dough on a floured surface to about 12 inches in diameter. Place into a fluted 8-inch tart pan, pressing the dough against the edges. Do not trim the dough! Let the edges of the dough ride above the edges of the tart pan. Simply prick the bottom of the dough, and freeze for 2 hours. Bake at 400 degrees F for 10 mins, then at 375 degrees F for another 10 mins. Return the shell to the freezer for at least 2 hours, then using a microplane, shave off any of the excess tart shell that is hanging over the sides, just to keep the edges uniform and flat.
For the filling:
1/2 cup dark chocolate chips
3/4 cups heavy cream, in two parts
a pinch of salt
2 egg yolks
1 tsp vanilla extract
1 tbsp creme di cacao
In a pot, heat up the dark chocolate chips with one part of the cream and salt first. Once everything is dissolved together, take off heat and stir in the egg yolks, vanilla, and creme di cacao. Allow the chocolate to cool down at room temperature until it is fully lukewarm. In another bowl, whisk the remaining cream to stiff peaks. Fold the whipped cream through the chocolate to form a mousse. Spread the mousse into the baked pie crust and place in the freezer.
To garnish:
1/4 cup heavy cream
1 tbsp confectioner’s sugar
1/2 tsp vanilla extract
a pinch of salt
dark chocolate
Whisk the cream, sugar, vanilla, and salt to stiff peaks. Spread the cream on top of the tart. With the chocolate, you can either shave it on top, or temper it into shards to garnish the top of the cream.
To temper the chocolate, melt down half of your chocolate over a double boiler. Once the chocolate registers at 120 degrees, take the chocolate off heat and stir until it goes down to 100 degrees F. Mix the remaining chocolate with the melted down chocolate off heat, and once the chocolate reaches 90 degrees F, spread the chocolate on acetate or parchment in a thin layer, and refrigerate for 10 minutes before breaking into smaller shards.