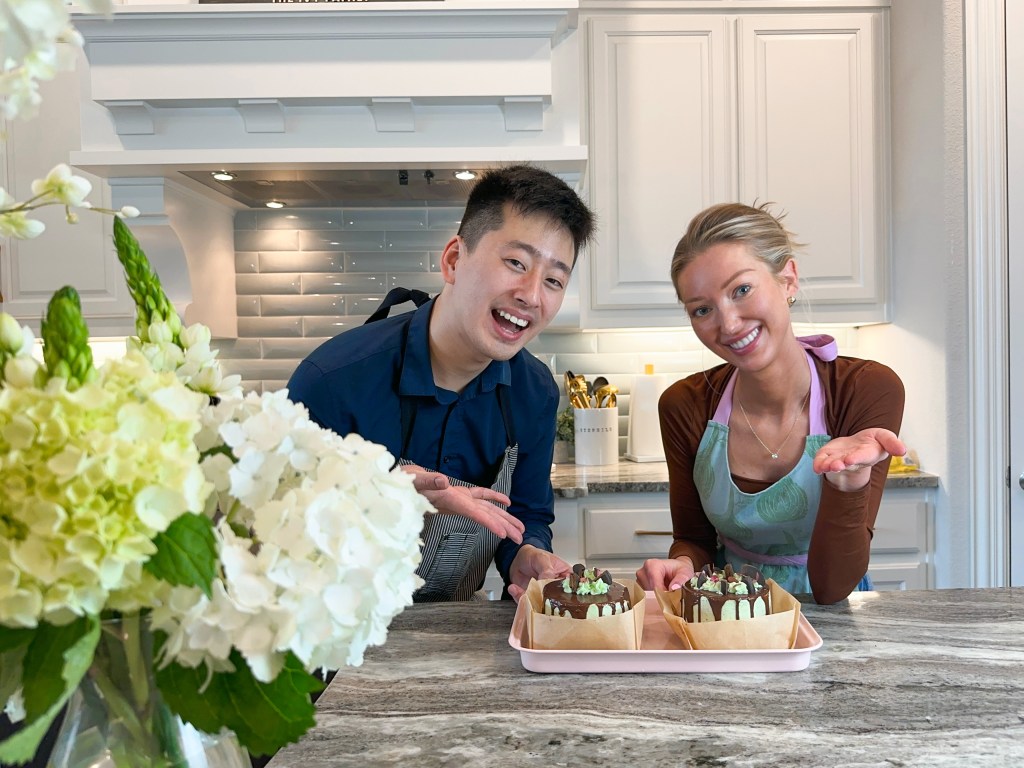
So in the rare instances where Bri and I get to hang out, cooking is always one of the things we do together. We wanted to bake a cake together, and it just made sense to do mini lunchbox cakes, since then we could have more cakes that way. One particular trend I have been seeing are these cute little lunchbox cakes. They are basically 3 to 4-inch layer cakes that are served in clamshell takeout boxes(think the boxes you could receive like a sandwich, order of rice, or a salad in from a takeout joint). For our version, I actually went ahead and made my own boxes using parchment and origami, since we really want these to feel a lot more home-made as opposed to store-bought, which the take out containers would sort of invoke. They are super cute, highly customizable, and a lot less of both a resource and time commitment as a full-on 6 to 8-inch layer cake. What I love about lunchbox cakes are that they sort of fit our individual aesthetics as well, mine being more focused on something you would find in Harajuku and her’s being more on the dainty and boutique! When it came to the flavors, we had to do mint-chocolate. Bri and her mother love mint chocolate, and she also had thin mints lying around, so it just made sense to go in that general direction. I just so happened to have made a cake with a similar flavor profile a while back, so I wanted to bring a spin on that one back, but make mini’s out of them!

Beyond just the size of the lunchbox cakes, there are still other key differences between these cakes are the Grasshopper Pie Layer Cake I made all those years ago. One of the biggest differences would be the cake itself. The Grasshopper Pie Layer Cake used an American-style batter, where the main leavening was baking soda. For these cakes, they are heavily reliant on whipped egg whites, with baking powder as a back-up, to create a much lighter and airier sponge, as well as a lot of egg yolks, just to give the cake a richer mouthfeel. The buttercream of choice was different as well. For the giant layer cake, I used an Italian meringue buttercream, which uses a simple syrup to cook the egg whites prior to being emulsified with butter. Here, we used a Swiss meringue buttercream, which is a lot more sturdy, and works better against a cake that is airier and lighter. While there are less components in these little cakes compared to the layer cake, I would say that the main two components, being the cake and the buttercream, are far more technical in this recipe. If you want to use a less difficult cake batter recipe, you can mix and match between this recipe and the previous one, just to find your own happy medium on how to construct your own Thin Mint Lunchbox Cakes!
Makes 2-3 lunchbox cakes:
For the chocolate cake:
5 egg whites
3/4 cups granulated sugar
a pinch of salt
1 tsp vanilla extract
8 egg yolks
1/2 cup cacao powder
1/3 cup canola oil(5oz)
1 1/4 cups all-purpose flour
1 1/4 tsp baking powder
In a bowl, whip up the egg whites with sugar, salt, and vanilla to stiff peaks. In a bowl, whisk together the egg yolks with cacao and canola. Sift into that the flour and baking powder. Then fold in the egg whites to form your batter. Spread the batter on a lined quarter(9in x 13in) sheet tray. Bake at 350 degrees F for 20 minutes. Allow the cake to cool before cutting out 4-inch disks. Freeze the disks for at least 20 minutes. You want these to be firm in texture, and cold to the touch so that they will be easier to assemble.
For the mint soak:
1 cup milk
1/4 tsp spearmint extract
a pinch of salt
Mix together. Keep cold for assembly. If you want to cool down the cakes faster, you can drizzle the soak over the disks of cake prior to throwing them into the freezer, which will then bring down the temperature a lot more.
For the mint Swiss meringue buttercream:
3 egg whites
1/3 cup granulated sugar
a pinch of salt
1 tsp spearmint extract
1 tsp vanilla extract
4 sticks unsalted butter, room temperature
In a bowl over a double boiler, whisk the egg whites with sugar and salt until frothy, and the sugar is fully dissolved. Transfer to a stand mixer with a whisk attachment, add in the spearmint and vanilla extracts, and whisk until stiff peaks form. Mix into the egg whites your butter, little by little, continuously whisking it until everything is combined.
For the mint ganache:
1 cup dark chocolate chips
2 tbsp canola oil
1/2 cup milk or heavy cream
a pinch of salt
1/4 tsp spearmint extract
In a pot, melt down everything, minus the spearmint extract, over medium heat, stirring until combined. Take the mixture off heat and stir in the spearmint extract. Bring the ganache to roughly the same temperature as your body before attempting to use.
To assemble:
Thin Mint cookies, crushed up
Microgreens(we used micro red sorrel)
Start by sprinkling 2 tbsp of the soak onto each round of cake, if you have not already done so. Spread roughly 3 tbsp of the buttercream onto the cake round in an even layer, sprinkling on the Thin Mint crumbs. Repeat the same steps for the second layer. For the third layer, start with the cake round, soak, and the buttercream. Smooth the cake at the edges with the buttercream in a super thin layer to form your crumb coat. Freeze the cake for 15-20 minutes. Remove the cake, and then spread on another thin layer of buttercream. Refreeze the cakes for another 10 minutes. Rim the bottom edges of the cake with the crushed up Thin Mints as well, and spread the ganache(roughly 5-6 tbsp) onto the top edges of the cakes in a thin layer, allowing the excess to gently drip off. Return the cake to the freezer one last time for another 10 minutes. Transfer the cake to the desired serving surface, and then finish the tops of the cakes with a border of piped buttercream. Sprinkle on the cookie crumbs and micro greens if desired.


Love it when you and Bri do things together!
LikeLiked by 1 person