Full disclaimer – this cake was a cake order for a 1 year old’s birthday party. The original cake order was actually for a 12-inch cake, which is why the raspberries look way smaller in proportion to the cake, and why I couldn’t really photograph the cake off the box(try moving a 12-inch cake made of cream while trying to keep it intact, it would be a disaster in the making). Realistically, I can’t picture most people needing a 12-inch cake, so I scaled this recipe down to a 6-inch cake instead, since that felt more practical of a recipe to share(if you want a 12-inch cake, literally double the recipe, bake the cake batter across 2 sheet trays, and voila). The client in question wanted the cake to be matcha-flavored, with raspberries and cream, and wanted me to make a pathway using matcha powder, and make little toadstools out of cream and fresh raspberries on top. Most of that, I was chill with. I knew, since that client ordered from me before, that I could do a matcha chiffon cake, since she loves my chiffon cakes. While chiffon is a tricky batter to make, since it requires whipped egg whites and yolks, that is my standard for cakes usually, and with a stand mixer, it goes from a 9/10 difficulty to like a 5/10 – honestly for me, it feels like a 2/10, but that’s because I make chiffon batter so regularly, and that’s not meant to be a brag, just a show of reassurance that with enough repetition, the term chiffon cake will not strike fear into you as a baker. I also knew that I was going to soak my matcha chiffon cake with matcha latte, just to ensure the flavor comes through and to ensure that my sponge, if it were somehow overbaked, would not eat dry. Since my client didn’t even want raspberry gelee, Inspiration, or compote of any kind, that cut out a few steps in terms of the components I had to do, since all I needed were fresh raspberries. Again, the sponge and the raspberries were not my concern. My focus for this recipe was actually on the whipped cream of all things.
Now, I’m not sure how many people have tried to assemble a layer cake with whipped cream, but I can tell you from previous experience that if you do not stabilize it, your cake will fall apart. Stabilized whipped cream can be done a few different ways – some people swear by just adding confectioner’s sugar, others melt gelatin into theirs, some even whip mascarpone and/or cream cheese into their cream – all of these methods are viable, but I will say that the gelatin or cream cheese methods are my personal go-to’s. I’ve even used xanthan gum in the past to fortify the cream, and while cream this way is very firm, it does taste a little chalky at the end if you use too much of the xanthan gum, so it becomes a balancing act with making sure you are within the right amount of milligrams used for the xanthan gum. Since this was a 12-inch cake(literally scaled to feed 40 people), I had to be extremely careful with this cream, because if it was not firm enough for a cake of this size, it would literally fall apart. So I did two things to ensure my whipped cream would not falter – I melted gelatin into it and thickened it with custard powder. While this made whipping the cream go from a 10-minute process to an hour-long one(because I took a portion of my cream, melted and whisked gelatin and custard powder into it, add the rest of my cream in, and had to refrigerate that until cold again since hot/warm cream will not whip up), it guaranteed my whipped cream was stable enough to hold up 12-inch cake rounds! The tricky part was monitoring the temperature of the cream itself, because I did get impatient, and try whipping it too early while it was room temperature, and that failed spectacularly. Fortunately, my mistakes can be a teaching moment for everyone, and at least if you do attempt this recipe, it will be a MUCH easier experience by comparison.
Makes 1 6-inch cake:
For the chiffon cake:
3 egg yolks
4 tbsp canola oil
1 tbsp matcha powder
3 tbsp lukewarm water
6 egg whites
3/4 cups granulated sugar
1 tsp baking powder
1 tsp vanilla extract
1 cup all-purpose flour
In a bowl, whisk the egg whites, sugar, baking powder, and vanilla until they reach stiff peaks. In another bowl, whip the canola oil with egg yolks, water, and matcha, and then sift into that the flour. Fold everything together to form your batter. Pour onto a lined sheet tray, spreading into an even layer, and bake at 350 degrees F for 22 minutes. Allow the cake to cool before cutting out 3 6-inch rounds, using scraps as necessary to form your layers.
For the soak:
1/2 cup whole milk
2 tbsp matcha powder
1 tsp vanilla extract
a pinch of salt
Whisk everything until combined.
For the custard chantilly:
12oz heavy cream, in 4 parts
1/4 tsp gelatin powder + 2 tbsp cold water
1 tbsp custard powder
a pinch of salt
1/4 cup confectioner’s sugar
1 tsp vanilla bean paste
In a pot, heat up 1 part of the heavy cream with gelatin, custard, and salt, whisking everything on medium until melted together. Add the mixture into a mixing bowl, and whisk into that the remaining cream, sugar, and vanilla bean paste until combined. Allow the cream to chill down for 30-40 minutes before whipping the cream until stiff peaks form.
For assembly:
1 pint raspberries
Matcha powder
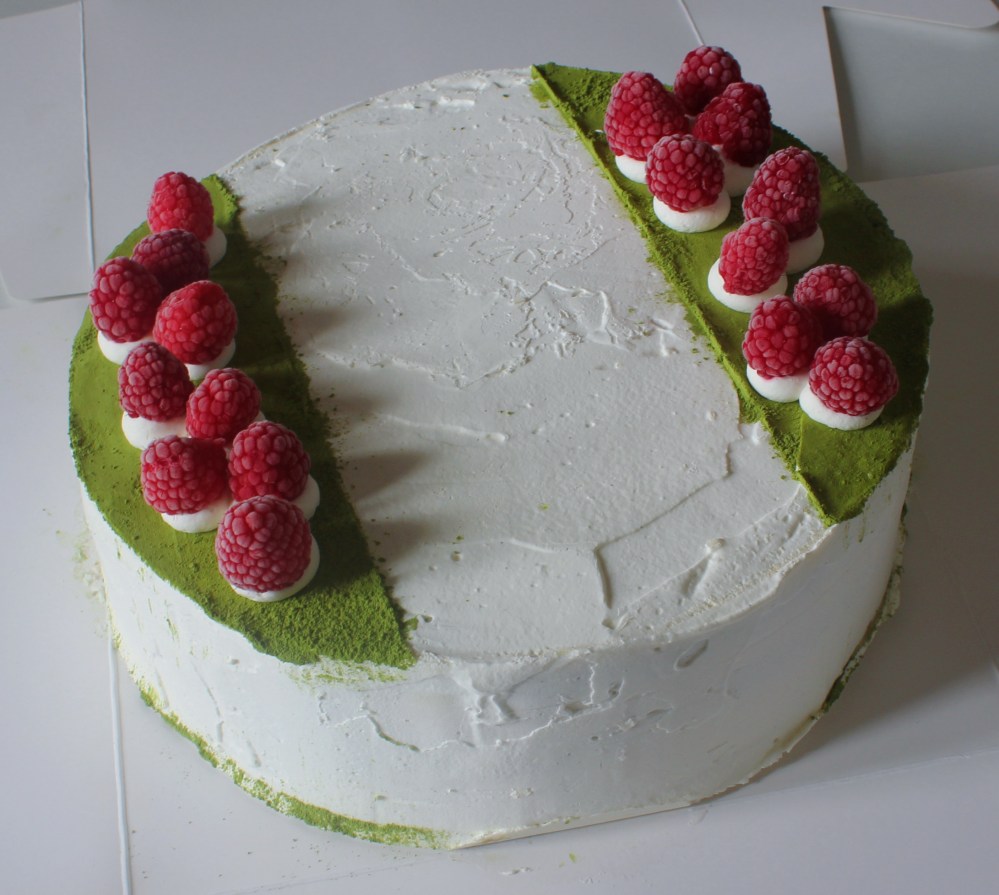
Line a 6-inch ring mold with acetate and place onto a sheet tray. Start by placing down the scrap layer of your cake rounds, and add in 1/3 of the soak. Spread over that roughly 4oz of the chantilly, and 1/3 of the fresh raspberries. Repeat for the next layer. For the final layer, start by adding on the last round of cake and the rest of the soak. Spread half of the remaining cream onto the cake and freeze the entire thing solid, 1-2 hours, before attempting to unmold. Transfer the rest of the cream into a piping bag and refrigerate. Spread a thin layer of cream around the edges of the still-frozen cake. Dust the exterior with matcha powder. Then pipe more dollops of cream on top of the cake and garnish with more fresh raspberries, to resemble little toadstools.