I have been seeing videos of people enjoying these adorable Baymax sourdough loaves at Disneyland’s San Fransokyo, and I just had to take a swing at making these myself. I will be honest, I felt a bit read when I saw the first Big Hero 6 trailer, mostly because Hiro Hamada totally ripped off my style. Just kidding, a lot of people wear the hoodie and shorts combo(but I totally wore it better than Hiro did, also kidding I should not be trying to get into a competition with a fictional character from an animated Disney film) because it is a cozy get up. Heck, that’s why I rock that look. Anyways, I wanted to try replicating that Baymax sourdough loaf, but it took a little research on a. how it was being made at the theme park, and b. what techniques and ratios were best suited to making this loaf. Making sourdough is almost an art form, because you are working with so many variables, ranging from the hydration of the dough(ratio of water to everything else), how much you must knead the dough, whether you score the dough to control how it cracks, or just let it run its course and hope for the best, that’s a lot to think about. And then there’s the sourdough starter itself. For this recipe, we are making our own starter from scratch, but it does take minimum 5 days to make it, so if you do not want to commit that much time(and perfectly understandable if you don’t), you can always try using the pre-made dried starter, or if you have a friend who owns starter that you can phone in, I’d say do that and save yourself some time. Otherwise, expect making these sourdough loaves to be about a 5 1/2-day recipe.

If you took up sourdough making during the pandemic, making your own starter might just take you back to those scary and uncertain times of 2020, where we did everything we could to keep ourselves entertained. Starved of a hobby, I still remember, because I had a friend or two who almost made it onto the notoriously disliked Masterchef: Legends season, that I may or may not have known who made it onto the cast and what the *general* boot order was(I was told who six of the remaining contestants that were still at that point in the competition were, but ironically enough, I was told that Kelsey and Abe got eliminated right before the pandemic, so trust me when I say this, the theories on who was the eventual season 11 winner were WILD given that the eventual winner was not on my list of people still competing). I could go on about how we all theorized that Alejandro was being set up to win based solely off of social media content(which is hilarious in retrospect given how he was portrayed on both season 11 and after the floor-steak incident in season 12), how Suu was going to be the runner-up who actually deserved to win(which coincidentally she was on all counts), how confused everyone was that Abe would not be in the finale based on actual talent(ironically even though Abe was still in the running at that point, that piece of speculation still turned out to be right, so whoops), and how apparently a majority of that cast was problematic for the production team compared to the season 10 cast, but I may save those silly anecdotes for another post. Though probably not, since it has been a long, long time, and those were pandemic memories(some of which were more painful than others) are better off buried underneath all of the great times that have come since.
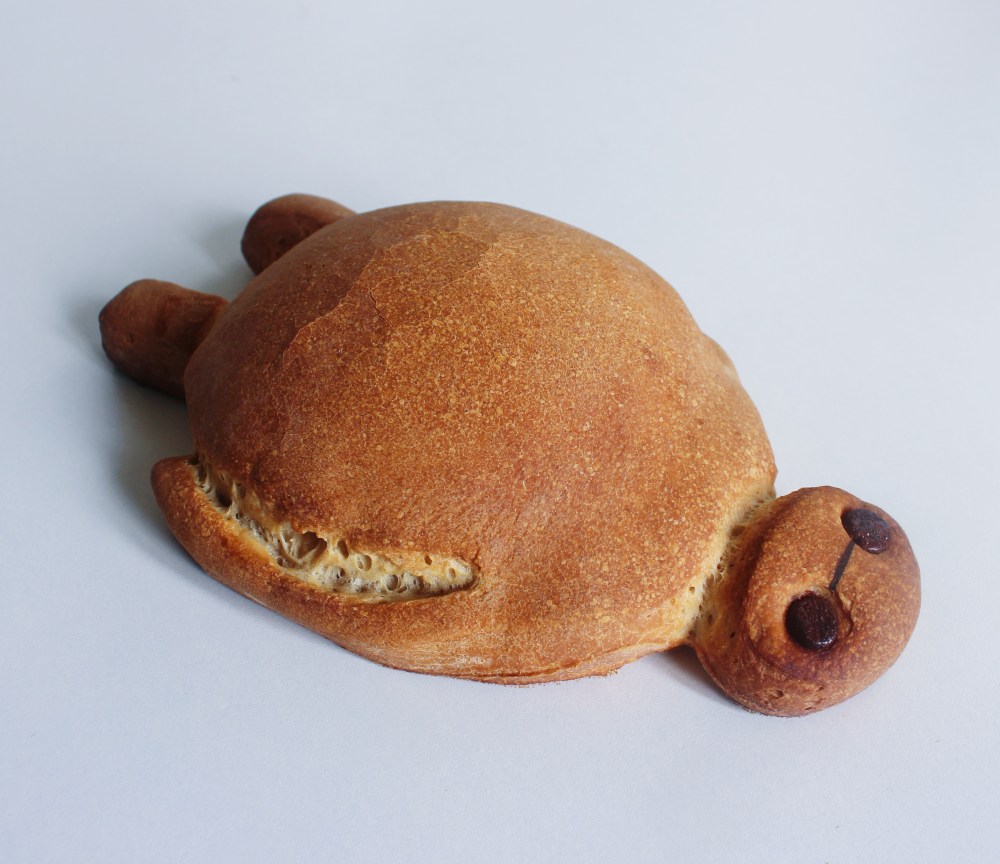
For this recipe, the main challenge is wait time. If you are making your own starter from scratch like I am, that is already a loose 5-day investment, where you have to mix flour and water together, then each day, mix more flour and water together and add that to your original mixture – the additional mixing in of that flour-water mixture is referred to as “feeding your starter”, since you are providing the older flour-water mixture with new flour and water for the bacterias and cultures to feast on/grow from. And then after a certain point, you will start pouring out half of the mixture(this is called sourdough discard), just to keep your starter to-be at a manageable quantity that you can handle feeding without burning a giant hole through your flour supply. Eventually, you will have this bubbly, frothy mixture that smells kind of like non-alcoholic beer, which you can use to make a bread loaf in lieu of yeast! The bread itself is quite simple in terms of ingredients, since this whole recipe requires 6-8 ingredients(6 ingredients for the bread, only 5 if you don’t count the chocolate chips) to make! However, the wait times are where the challenges lie. Even without the 5-day time spent on the starter, the bread loaf itself will still take at least 5 hours to proof before you can bake it. With sourdough, you typically want the loaf to split and form that bread “ear”, and usually you will need to score your loaf to do so. However, with these Baymax loaves, you want the final product to be relatively smooth and not-cracked, so I had find a way to intentionally prevent that. One thing I noticed that they did at Disneyland was tuck a round piece of dough underneath a bigger, thinner piece of dough to form Baymax’s round belly and his body. By shaping these loaves out from a thinner piece of dough, and separating out the dough into smaller pieces, those were ways to prevent the loaves from cracking. I also got confirmation his eyes were chocolate chips, so that solved one question I had, and for the line between, I just used edible paint for that. All in all, this was a fun experiment, and I am glad that my first actual sourdough bread loaf(since my previous sourdough experiments were not loaves) came in the shape of Baymax!
Click here for my starter recipe!
Makes 3 to 4 loaves:
For the dough:
12oz sourdough starter*
3 1/2 cups bread flour
1 tbsp olive or canola oil
4oz water, plus more for spraying
a pinch of salt
dark chocolate chips for garnish
In a bowl, mix together the starter, flour, oil, water, and salt until they are all combined together to form your dough, then continue kneading the dough until it is stretchy but still staying in one piece as you attempt to pull a piece away from it. Allow the dough to rest at room temperature for 1-2 hours, covered. Then turn the dough out onto a lightly floured surface and roll it out to be roughly 1/2-inch in thickness.
Using a 6-inch ring mold, cut out disks from the dough. Then using a 2-inch ring mold, cut out ovular shapes; these ovals will be Baymax’s head. Using the edge of the 6-inch ring mold, crescent moon shapes out of the sides of the 6-inch disk of dough to form long flaps, trimming the edges off so that the ends of these flaps are rectangular. Cut out 2-inch squares from the dough and cut those in half to form Baymax’s feet. With any scraps of the dough, portion them out into 40g balls and place those underneath Baymax’s body – this will help shape out his belly. After shaping out the belly, place the feet underneath that. Be sure to actually arrange the various parts of Baymax on a parchment-lined sheet tray, as transporting the assembled Baymax dough(which is extremely sticky) prior to it being baked is a near-impossible task. Repeat these steps to form two more loaves. Rest the dough at room temperature for another 3 hours.
Right before baking, spray the exterior of the bread loaf with water, and then press in the chocolate chips to form the eyes. Bake at 400 degrees F for 15 minutes. Then rotate your baking trays by 180 degrees and bake for another 15 minutes, still at 400 degrees F. Rotating the trays will guarantee even baking across your loaves. Allow the loaves to fully cool before attempting to remove them from the trays.
For the edible paint:
10g activated charcoal powder
1g clear alcohol
Mix the ingredients together to form an edible paint. Using a paint brush, brush a line between Baymax’s eyes. You can also substitute this with an edible marker if that is easier.

I love this!
LikeLiked by 1 person