The initial idea for this recipe came about because my friend Sylvie was nonstop raving about how good the sourdough at Bavel in LA is. To quote, she said it was the fluffiest pita bread she ever had. And that piqued my interest. I happened to own the Bavel cookbook, so I looked up their pita recipe. The one thing that stood out to me from their recipe was the usage of sourdough starter. Sourdough starter probably takes most of us back to the beginning of 2020, when everyone was making that, banana bread, or toilet paper cakes. Sourdough starter is literally just flour and water, mixed together, and left to sit covered at room temperature. You would mix into that mixture more flour and water, and on occasion, you would need to pour some of the starter out to control the quantity better – the removed portion is called discard, which can then be used to make bread with! In the case of this recipe, I tried my best to scale it to where you wouldn’t need to discard any of the starter, and that the recipe will make exactly as much starter as you would need for the bread itself! I will admit since making this dough come together could potentially be a 5-day process, I would recommend making at least a double batch(which is literally what I did), just to capitalize on the wait time!
For the rest of this recipe, the most challenging part is honestly the waiting. You need at least 3 days for the sourdough starter to mature to the point where it is usable(unless you can phone in a friend and borrow some of theirs!), and another 2 days(at least 1 day) for the dough to proof and rise properly. While you can make this recipe without the starter, I will warn you that the texture will no where as light and fluffy, as 30% of that ultra-fluffy texture comes from using the sourdough as an additional leavening agent. Another 10% comes from the cultures in the Greek yogurt(which also adds fat and moisture to the bread), and the rest, the yeast. When choosing what kind of Greek yogurt to use for this recipe, be sure to use whole fat or even Icelandic skyr! You want that fat to give the pita optimal flavor and texture! The olive oils adds more fat, since bread can dry out quickly, but the yogurt is your insurance policy here to guarantee that the pitas are fluffy and not cardboard. These pita can literally be eaten on their own, but you can totally also serve them with simple olive oil and sumac, or even hummus and yogurt if you like! When it comes to the baking of these, I recommend using a pizza stone or cast iron, as both retain heat beautifully and can help give the pita a nice crust on both sides. A cast iron griddle is not a bad alternative, nor is an oven-proof nonstick pan, but I recommend against using a sheet tray, since it will not brown the pita as evenly as the other options!
Makes 4 pita loaves:
For the sourdough starter:
1/4 cup all-purpose flour, in 4 parts
1/4 cup water, in 4 parts
In a small bowl or tupperware, mix together 1 part of flour with 1 part of water. Keep covered and allow it to sit overnight. The following day, mix together another part of flour and water and add that to the mixture you made the night before, stirring to make sure both mixtures are combined together. Allow that to rest another night. Repeat again and again until you are out of mixture. After adding the 4th mixture, allow the mixture to sit another night before using! The starter should have a sour smell to it and be really frothy and bubbly in consistency!
For the bread:
1 packet instant dry yeast
1/4 cup room temperature water
1 tsp granulated sugar
1/4 cup Greek yogurt
1/4 cup olive oil
1/2 cup sourdough starter
A pinch of salt
2 cups flour
In a bowl, mix together the yeast, water, and sugar first, stirring until the yeast is fully dissolved. Then mix into that the other ingredients, kneading them together into a smooth and bouncy dough – about 10 minutes of kneading or 5 minutes using a dough hook attachment on a stand mixer. Transfer the dough into a deep container and cover. Refrigerate for at least 24 hours, but no longer than 72!
After the dough has rested in the refrigerator, divide it into 4 pieces and roll each one into circles that are roughly 6 inches in diameter. Allow the dough circles to rest at room temperature for at least another 45 minutes, but no more than 2 hours! This will help the dough come up to temperature so that it will not be raw when you attempt to cook it!
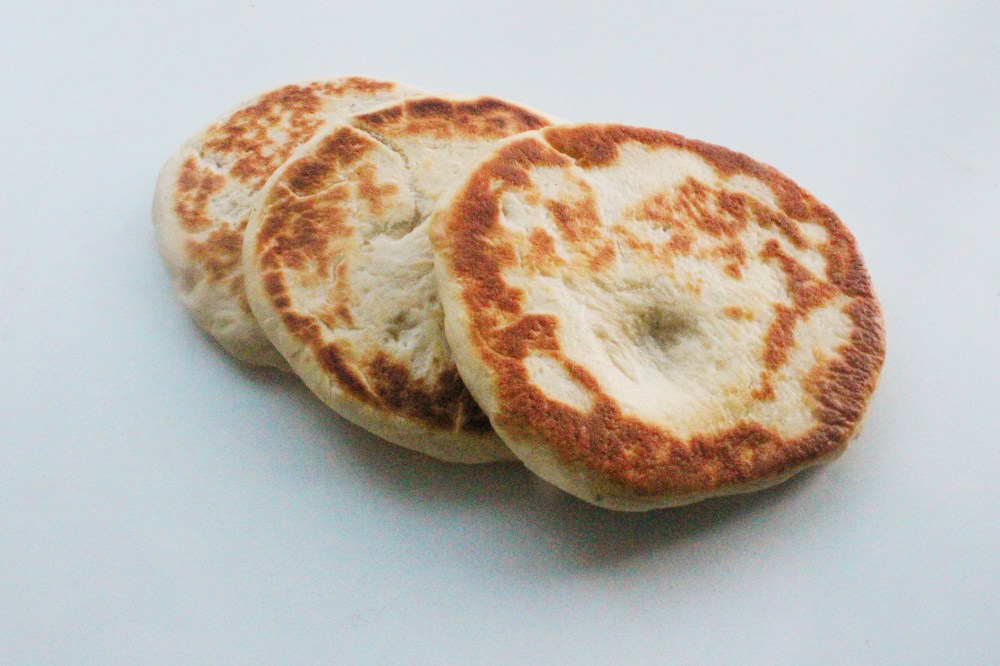
Preheat an oven to 500 degrees F. If you own a cast iron, pizza stone, or a fully oven-proof nonstick pan, place that into the oven while it is preheating – the warmer the pan, the better the sear on your pita! Bake the pita on each side in the pan for 3 minutes. The final product should have a gorgeous sear on the exterior while still having a springy texture to it.

One Comment Add yours