These cinnamon rolls were a random brain child when I was trying to think of fun things I could do with maple syrup and Vietnamese cinnamon. When life gives you cinnamon, making a cinnamon roll is kind of a no-brainer. However, I did not want to just do a plain cinnamon roll. So that was where the usage of maple came in. I love earthier flavors and tones, and maple has this sweet, perfumey, robust flavor to it, making it ideal for a couple different applications in a cinnamon roll recipe. The first would be with the dough; using maple syrup in lieu of sugar was an easy substitution. Another usage was in the filling in place of a small amount of the brown sugar, just so that the sugar takes on a spreadable paste-like consistency. And lastly, in a cream cheese glaze, to loosen the cream cheese itself, and to play off of vanilla, another sweet-forward ingredient. These cinnamon rolls are light, spongy, and soaked with cinnamon-maple-y deliciousness. I will say my one gripe with cinnamon rolls is that they photograph gorgeously without a glaze on top, but it is really that glaze that makes them so good. I feel like visually, the glaze just covers up all of the hard work that went into shaping the rolls, but it adds moisture, additional sweetness, and a contrast from the deeply spiced filling and the drier, crustier edge parts. It might not be the best part of a cinnamon roll(that will always be the gooey center of the roll itself), but the glaze is still a necessary part in fully enjoying a cinnamon roll in its entirety.

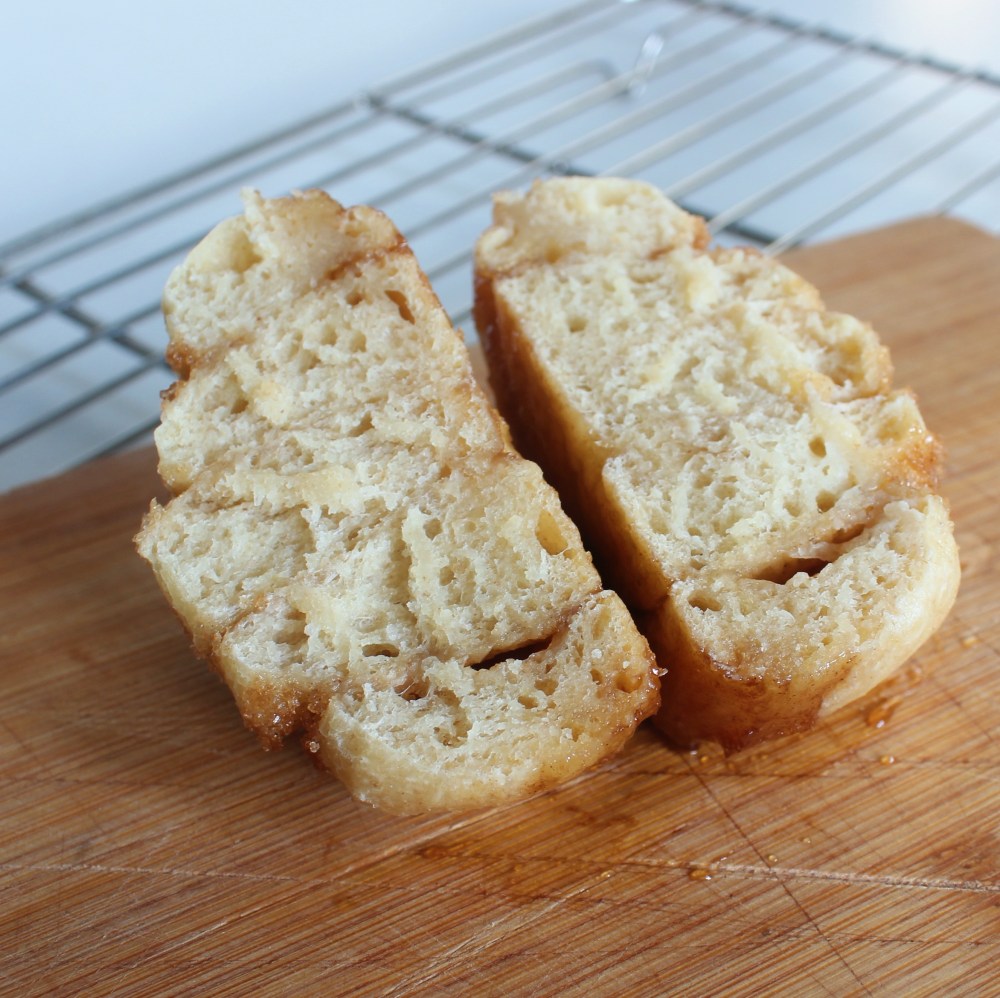
In terms of technical aspects, the dough itself is yeasted. Translation: it will take you a while, since yeast needs time to rest and proof for the dough to be light and airy. The filling and the glaze are honestly so minimal effort that you will find yourself focusing a lot on the dough here. The filling literally is just mixing maple syrup and brown sugar into a paste, and using an offset spatula to spread it in a thin, even layer. The glaze, just whip the cream cheese with maple syrup until it is a smear-able consistently, then covering the tops of the baked rolls with it. Again, the dough is where you have to put a lot of your focus here. Kneading and mixing the dough, resting it, then finally, shaping it. I have had many failed cinnamon roll-type attempts because I could not get the cross section looking perfectly swirled. The first step is rolling up your dough in a tight, tight coil. That guarantees a nice, elongated swirl that goes through the entire roll. Also, what I found that worked, and thanks Internet for this one, is using unflavored dental floss. The floss has a way of cleanly cutting through the dough without smushing it like a knife would, resulting in rolls that retain their perfectly round shape and the gorgeous swirled interior. I will honestly say that my favorite shots of this recipe were the cinnamon rolls prior to the glaze going on them, baked or unbaked, because the swirls were so satisfying to look at.

For the dough:
2 cups all-purpose flour
1 packet(7g) active dry yeast, mixed with 2 tbsp lukewarm water
.5oz maple syrup
a pinch of salt
1 tsp vanilla extract
1/3 cup buttermilk
1 egg
3 tbsp unsalted butter, softened
In a bowl, start by mixing together the flour, active dry yeast, maple syrup, salt, vanilla, buttermilk, and egg until a smooth dough forms. Mix into the dough the butter, kneading the dough until the pale streaks of butter are fully incorporated into the dough itself. Continuing kneading the dough until it springs back when you poke it. Rest the dough, covered, for 1 hour at room temperature.
For the filling:
1 cup dark brown sugar
.5oz maple syrup
1 tsp ground Vietnamese cinnamon
a pinch of salt
In a bowl, mix all of your ingredients together into a paste.
For initial assembly:
Dough, rested at room temperature for 1 hour
Cinnamon-brown sugar filling
4 tbsp salted butter, for the pan
On a lightly floured surface, roll the dough to be a rectangle that is roughly 12 inches by 9 inches in size. Spread the filling in an even layer onto the dough and roll the dough into a scroll along the longer side – you want the roll of dough to be 9 inches wide. Gently mark the dough at every 1 inch mark with a knife. Using dental floss, slice the dough roll into 1-inch tall disks. Arrange the dough disks onto a heavily buttered oven-proof nonstick pan or skillet – it is perfectly fine for the rolls to be touching. Allow the dough to proof at room temperature for another hour before baking at 375 degrees F for 30 minutes. While the cooked rolls are cooling down, spread the maple cream cheese glaze on top of each roll. For optimal timing, it is better to prepare the glaze while the rolls are in the oven.
For the maple cream cheese glaze;
8oz cream cheese
1oz maple syrup
1 tsp vanilla extract
a pinch of salt
In a bowl, whip the cream cheese until it is soft and spreadable in consistently. Then mix into that the remaining ingredients to form your glaze.